%%capture
!pip install kornia
!pip install kornia-rsFace Detection and blurring
Intermediate
Face detection
Blur
kornia.contrib
In this tutorial we will show how to use the Kornia Face Detection and how we can blurring these detected faces.
![]()
import io

import requests


def download_image(url: str, filename: str = "") -> str:
    filename = url.split("/")[-1] if len(filename) == 0 else filename
    # Download
    bytesio = io.BytesIO(requests.get(url).content)
    # Save file
    with open(filename, "wb") as outfile:
        outfile.write(bytesio.getbuffer())

    return filename


url = "https://raw.githubusercontent.com/kornia/data/main/crowd.jpg"
download_image(url)
Import the needed libraries
import cv2
import kornia as K
import matplotlib.pyplot as plt
import numpy as np
import torch
from kornia.contrib import FaceDetector, FaceDetectorResult

# select the device and type
device = torch.device("cpu")  # use 'cuda:0'
dtype = torch.float32
Read the image with kornia
# load the image (face detector expects a image in rage 0-255 (8 bits))
img = K.io.load_image("crowd.jpg", K.io.ImageLoadType.RGB8, device=device)[None, ...].to(dtype=dtype)  # BxCxHxW
img_vis = K.tensor_to_image(img.byte()) # to later visualizeplt.figure(figsize=(8, 8))
plt.imshow(img_vis)
plt.axis("off")
plt.show()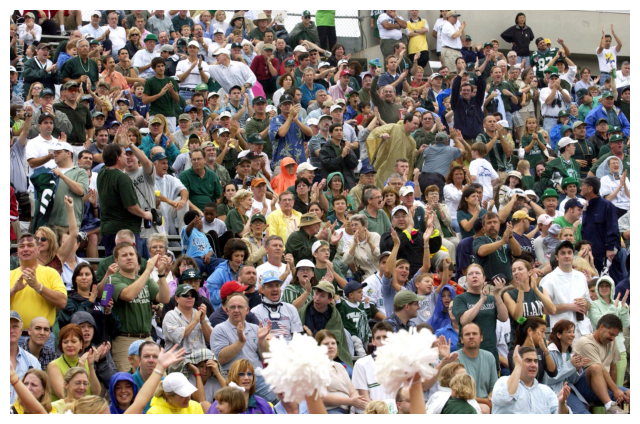
Create the FaceDetector object and apply to the image
# create the detector and find the faces !
face_detection = FaceDetector().to(device, dtype)
with torch.no_grad():
dets = face_detection(img)
# to decode later the detections
dets = [FaceDetectorResult(o) for o in dets]Create a function to crop the faces from the original image and apply blurring using the gaussian_blurd2d operator.
Alternatively, explore other blur operator in kornia.filters.
# blurring paramters
k: int = 21 # kernel_size
s: float = 35.0 # sigma
def apply_blur_face(img: torch.Tensor, img_vis: np.ndarray, x1, y1, x2, y2):
# crop the face
roi = img[..., y1:y2, x1:x2]
# apply blurring and put back to the visualisation image
roi = K.filters.gaussian_blur2d(roi, (k, k), (s, s))
img_vis[y1:y2, x1:x2] = K.tensor_to_image(roi)Let draw the detections and save/visualize the image
for b in dets:
# draw face bounding box around each detected face
top_left = b.top_left.int().tolist()
bottom_right = b.bottom_right.int().tolist()
scores = b.score.tolist()
for score, tp, br in zip(scores, top_left, bottom_right):
x1, y1 = tp
x2, y2 = br
if score < 0.7:
continue # skip detection with low score
img_vis = cv2.rectangle(img_vis, (x1, y1), (x2, y2), (0, 255, 0), 2)
# blur the detected faces
apply_blur_face(img, img_vis, x1, y1, x2, y2)
plt.figure(figsize=(8, 8))
plt.imshow(img_vis)
plt.axis("off")
plt.show()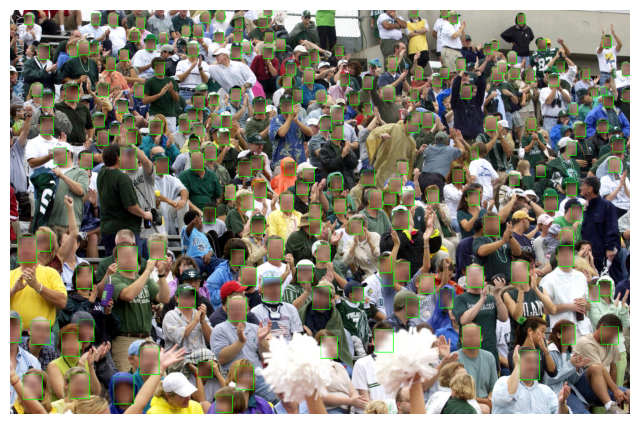
Play with the Real Time Demo
You can achieve 60 FPS in CPU using a standard WebCam.
See: https://github.com/kornia/kornia/blob/master/examples/face_detection/main_video.py
from IPython.display import YouTubeVideo

YouTubeVideo("hzQroGp5FSQ")